

Netlify
AIOfficial MCPA platform to build, deploy, and host modern web projects with integrated CI/CD, serverless functions, and global CDN.
Netlify
A platform to build, deploy, and host modern web projects with integrated CI/CD, serverless functions, and global CDN.
About Netlify
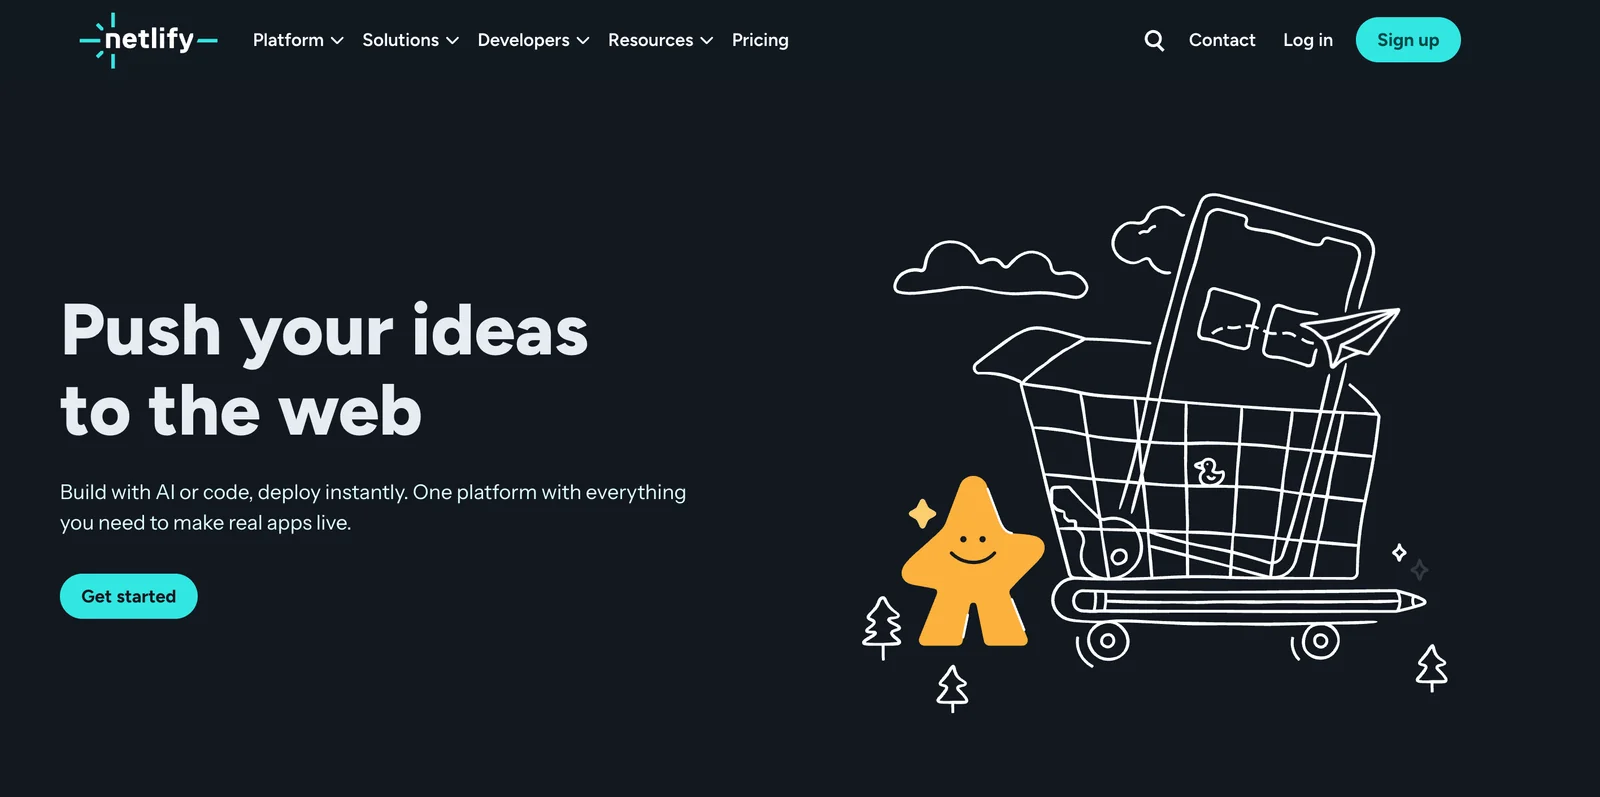
Netlify is a web development platform that automates building, deploying, and hosting modern web applications and sites. It connects to Git repositories to run automated builds, creates deploy previews for pull requests, and publishes output to a global CDN for fast delivery. Netlify provides serverless compute (Netlify Functions), edge logic, and integrated services such as Identity and Forms, plus local emulation and a CLI for developer workflows. Its value is in streamlining the JAMstack workflow — reducing friction between code, previewing, and production while providing plugins and integrations to extend build and deploy pipelines.
Screenshots


Key Features
Use Cases
MCP Server
https://docs.netlify.com/build/build-with-ai/netlify-mcp-server/💡 MCP (Model Context Protocol) enables AI assistants to securely interact with local and remote resources.


Frequently asked questions about Netlify
What are the pricing options for Netlify?
Netlify offers a flexible pricing model, starting with a free Starter plan ($0/month), ideal for individuals and hobby projects. Paid plans include the Pro plan at $19/user/month and the Business plan at $99/month, designed for teams and enterprises with advanced features and support.
Key Points
- Free Starter Plan: Ideal for personal projects and small websites.
- Pro Plan: Cost-effective for individual developers and startups.
- Business Plan: Comprehensive features for larger teams and enterprises.
Detailed Explanation
Netlify's pricing model caters to a wide range of users, from developers to larger companies, providing options that scale with your needs.
-
Starter Plan ($0/month):
- Perfect for individual developers or small projects.
- Offers basic features such as continuous deployment, serverless functions, and global CDN.
- Ideal for showcasing portfolios or hosting small sites without upfront costs.
-
Pro Plan ($19/user/month):
- Designed for professional developers and small teams.
- Adds features like advanced security, team collaboration tools, and increased bandwidth.
- Suitable for startups needing reliable hosting and deployment without breaking the bank.
-
Business Plan ($99/month):
- Best for larger teams and enterprises requiring advanced features and support.
- Includes dedicated support, greater security, and performance optimizations.
- Ideal for businesses that need to handle high traffic and require compliance with data regulations.
Best Practices / Tips
- Assess Your Needs: Before choosing a plan, evaluate your project requirements, team size, and expected traffic to select the most cost-effective option.
- Utilize the Free Plan: Take advantage of the free Starter plan to test Netlify's features and functionality before committing to a paid plan.
- Consider Upgrading: If your project grows, consider upgrading to the Pro or Business plan for enhanced features and better performance.
Additional Resources
How do I get started with Netlify?
To get started with Netlify, sign up for a free account on their website, connect your Git repository, and follow the guided setup to deploy your first site in just a few minutes. This streamlined process allows developers and designers to focus on building their projects efficiently.
Key Points
- Create a Free Account: Visit Netlify's website to register.
- Connect Your Git Repository: Choose from GitHub, GitLab, or Bitbucket.
- Deploy Your Site: Use the intuitive interface for quick deployment.
Detailed Explanation
To initiate your journey with Netlify, follow these steps:
-
Create a Free Account:
- Go to Netlify's website.
- Click on the "Sign Up" button. You can register using your email or link your GitHub, GitLab, or Bitbucket account for seamless integration.
-
Connect Your Git Repository:
- After signing up, you’ll be prompted to connect a Git repository. Choose from supported platforms like GitHub, GitLab, or Bitbucket.
- Authorize Netlify to access your repositories. Once connected, select the repository containing your project files.
-
Deploy Your Site:
- After selecting your repository, you’ll need to configure your build settings. Specify the build command and the folder where your site files are located (e.g.,
distfor static sites). - Click “Deploy Site” to launch your project. Netlify takes care of the rest, providing you with a live URL to access your site immediately.
- After selecting your repository, you’ll need to configure your build settings. Specify the build command and the folder where your site files are located (e.g.,
Netlify supports various frameworks, including React, Vue, and Angular, making it a versatile option for developers.
Best Practices / Tips
- Use Continuous Deployment: Enable continuous deployment by connecting your repository. Any changes pushed to the main branch will automatically update your site.
- Leverage Netlify Functions: Utilize serverless functions for backend logic without managing servers.
- Optimize Performance: Utilize features like automatic HTTPS, CDN distribution, and image optimization for faster loading times.
- Monitor Your Site: Use Netlify Analytics to track traffic and site performance metrics.
Additional Resources
By following these steps and best practices, you can efficiently start using Netlify and enhance your web development workflow.
What are the key features of Netlify?
Netlify offers a suite of robust features including Git-based Continuous Deployment, Deploy Previews, Serverless Functions, and a global Content Delivery Network (CDN). These capabilities make it an excellent choice for developers working on modern web projects, enhancing performance, collaboration, and scalability.
Key Points
- Git-based Continuous Deployment: Automates the deployment process.
- Deploy Previews: Allows real-time previews before final deployment.
- Serverless Functions: Facilitates backend functionality without server management.
- Global CDN: Ensures fast content delivery worldwide.
Detailed Explanation
Netlify simplifies the deployment and management of web applications through its innovative features:
-
Git-based Continuous Deployment: Netlify connects directly to your Git repository (GitHub, GitLab, or Bitbucket). Every time you push updates, Netlify automatically builds and deploys your site, ensuring that your changes are live without manual intervention. This is particularly beneficial for teams practicing Agile development, as it accelerates the feedback loop.
-
Deploy Previews: Before merging your changes into the main branch, you can generate Deploy Previews. This feature creates a live version of your site based on the latest changes, allowing team members and stakeholders to review updates in real-time. It’s an essential tool for collaboration and ensures that the final product meets expectations.
-
Serverless Functions: With Netlify, you can integrate backend functionalities seamlessly using Serverless Functions. These are server-side scripts that run on demand, enabling you to perform tasks like form submissions, handling payments, or interacting with APIs without managing a dedicated server. This not only reduces overhead but also scales effortlessly with your application's needs.
-
Global CDN: Netlify’s global Content Delivery Network (CDN) caches your content at multiple locations worldwide. This means that when users access your site, they get the fastest response possible, significantly enhancing user experience and reducing load times.
Best Practices / Tips
- Integrate with CI/CD: For best results, combine Netlify with continuous integration and continuous deployment (CI/CD) practices. This will streamline your development process.
- Utilize Environment Variables: Secure sensitive information by using environment variables within Netlify. This keeps your API keys and credentials safe while maintaining functionality.
- Monitor Performance: Regularly check your site’s performance metrics using analytics tools integrated with Netlify. This can help you identify bottlenecks and optimize loading times.
Additional Resources
How does Netlify compare to other hosting platforms?
Netlify outshines traditional hosting platforms by providing integrated Continuous Integration/Continuous Deployment (CI/CD), serverless functions, and a range of deployment options. This modern approach enhances productivity for developers and offers features that streamline workflows, making it a preferred choice for modern web applications.
Key Points
- Integrated CI/CD: Automated deployment and testing.
- Serverless Functions: Scalable backend capabilities without server management.
- Extensive Deployment Options: Supports various frameworks and static site generation.
Detailed Explanation
Netlify's integrated CI/CD system simplifies the deployment process. Developers can push code changes to a Git repository, and Netlify automatically builds and deploys the site, saving time and reducing manual errors. This feature is essential for teams practicing Agile methodologies, allowing for rapid iterations and feedback loops.
Another standout feature is Netlify's serverless functions. This allows developers to run backend code without maintaining servers, making it cost-efficient and scalable. For example, a developer can create a contact form that utilizes serverless functions to handle submissions without worrying about server infrastructure. This is particularly beneficial for small to medium-sized projects where time and resources are limited.
Moreover, Netlify offers extensive deployment options compatible with various frameworks like React, Vue, and Angular, as well as static site generators like Gatsby and Jekyll. This flexibility enables developers to choose the best tools for their projects, enhancing overall productivity and site performance.
Best Practices / Tips
- Utilize Branch Deploys: Take advantage of Netlify's branch deploys to test features in isolated environments before merging them into the main branch.
- Optimize Assets: Use Netlify’s built-in features to optimize images and other assets for faster loading times.
- Monitor Performance: Leverage Netlify Analytics to track site performance and user behavior, ensuring continuous improvement of your web applications.
Additional Resources
Does Netlify support API integrations?
Yes, Netlify supports API integrations, enabling developers to seamlessly connect with various third-party services, utilize powerful serverless functions, and manage their deployments through a comprehensive API. This functionality enhances the development workflow and allows for greater flexibility in building modern web applications.
Key Points
- Robust API Support: Netlify’s API allows for extensive integrations.
- Serverless Functions: Developers can create and deploy serverless functions easily.
- Third-Party Services: Easily connect with various tools and services such as databases, authentication providers, and CMS systems.
Detailed Explanation
Netlify provides a flexible environment for developers looking to integrate APIs into their projects. The platform's API allows for automating workflows, managing site deployments, and interacting with serverless functions.
API Integrations
Netlify’s API supports RESTful endpoints, enabling developers to perform operations such as creating new sites, triggering builds, and managing environment variables. For example, you can automate the deployment process of your project by integrating with CI/CD tools like GitHub Actions or CircleCI.
Serverless Functions
Netlify Functions allow you to run server-side code without managing servers. You can write functions in JavaScript or Go, and they automatically scale based on demand. This is particularly useful for tasks such as handling form submissions or processing data from external APIs.
Use Cases
For instance, if you are building a blog, you can integrate with a headless CMS like Contentful or Sanity to fetch and manage content dynamically. Additionally, you can utilize third-party services like Stripe for payment processing, ensuring a smooth user experience.
Best Practices / Tips
- Keep API Calls Efficient: Minimize the number of requests to reduce latency. Utilize caching where possible.
- Secure Your APIs: Always implement authentication and authorization when integrating with third-party services to protect sensitive data.
- Use Environment Variables: Store API keys and secrets in Netlify’s environment variables for security and ease of management.
Additional Resources
Explore more AI Mcps tools
Browse all Mcps tools →Browse by use case: Code Generation · Automation & Productivity
Compare Netlify: vs DocsAlot · vs Toolport · vs Kit for AI · vs In Parallel MCP